Revolutionize Your Walls with Expert Sound Deadening Techniques
18/11/2024
Sound deadening involves using materials and methods to block or absorb sound. By understanding the basics of sound transmission and the right materials to use, you can successfully reduce noise. There are many successful techniques and materials available that may allow you to achieve excellent sound deadening results for your walls.
This article will guide you through some of the most effective sound deadening techniques for walls, including expert tips on materials and DIY projects. By following these guidelines, you can make your home a quieter, more enjoyable place to live.
Understanding Sound Deadening
Basics of Sound Transmission
Sound travels in waves through the air and can easily pass through thin walls, windows, and doors.
When sound waves hit a wall, some of the energy continues to travel through the wall. This can make it hard to keep one area quiet if another area is noisy. There are three main types of sound transmission: airborne, impact, and flanking. Airborne sounds include voices and music. Impact sounds involve physical actions like footsteps. Flanking sounds find their way through gaps and cracks.
To successfully reduce noise, it is significant to understand how sound behaves. Blocking acoustic waves requires adding mass and density to barriers. Absorbing sound involves materials that disrupt acoustic waves and reduce their energy. By targeting these aspects, sound deadening techniques can be more successful.
Key Materials for Sound Deadening
Several materials are particularly successful at sound deadening. Here are some of the most common:
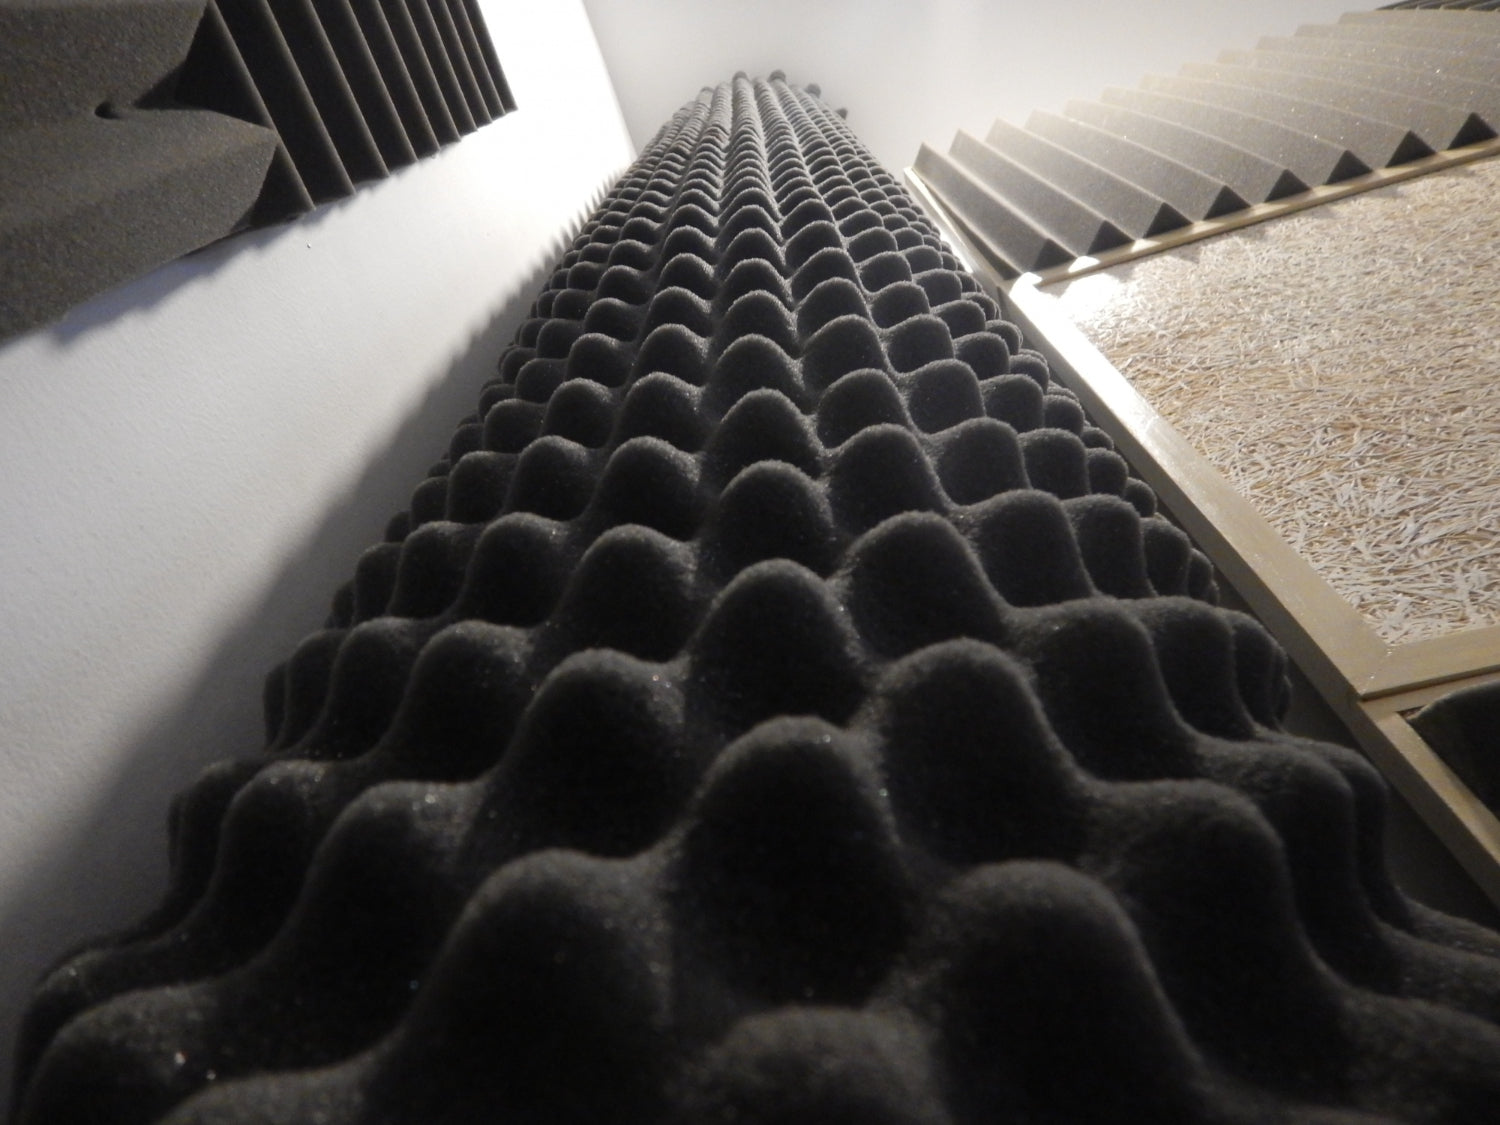
Acoustic Foam: This foam is developed to absorb acoustic waves, reducing echoes and reverberations. It is commonly chosen in studio recording spaces and home theatres.
Mass Loaded Vinyl (MLV): A dense, flexible material that blocks acoustic waves by adding mass to walls, floors, and ceilings.
Fibreglass Insulation: This material absorbs sound and offers thermal insulation, making it a dual-purpose option.
Acoustic Panels: These panels are made from materials that absorb sound and are commonly chosen in professional settings for better audio quality.
Using the right materials is key to successful sound deadening. Combining these materials can enhance their effectiveness, creating a quiet and peaceful space.
Top Techniques for Sound Deadening Walls
Using Acoustic Foam Panels
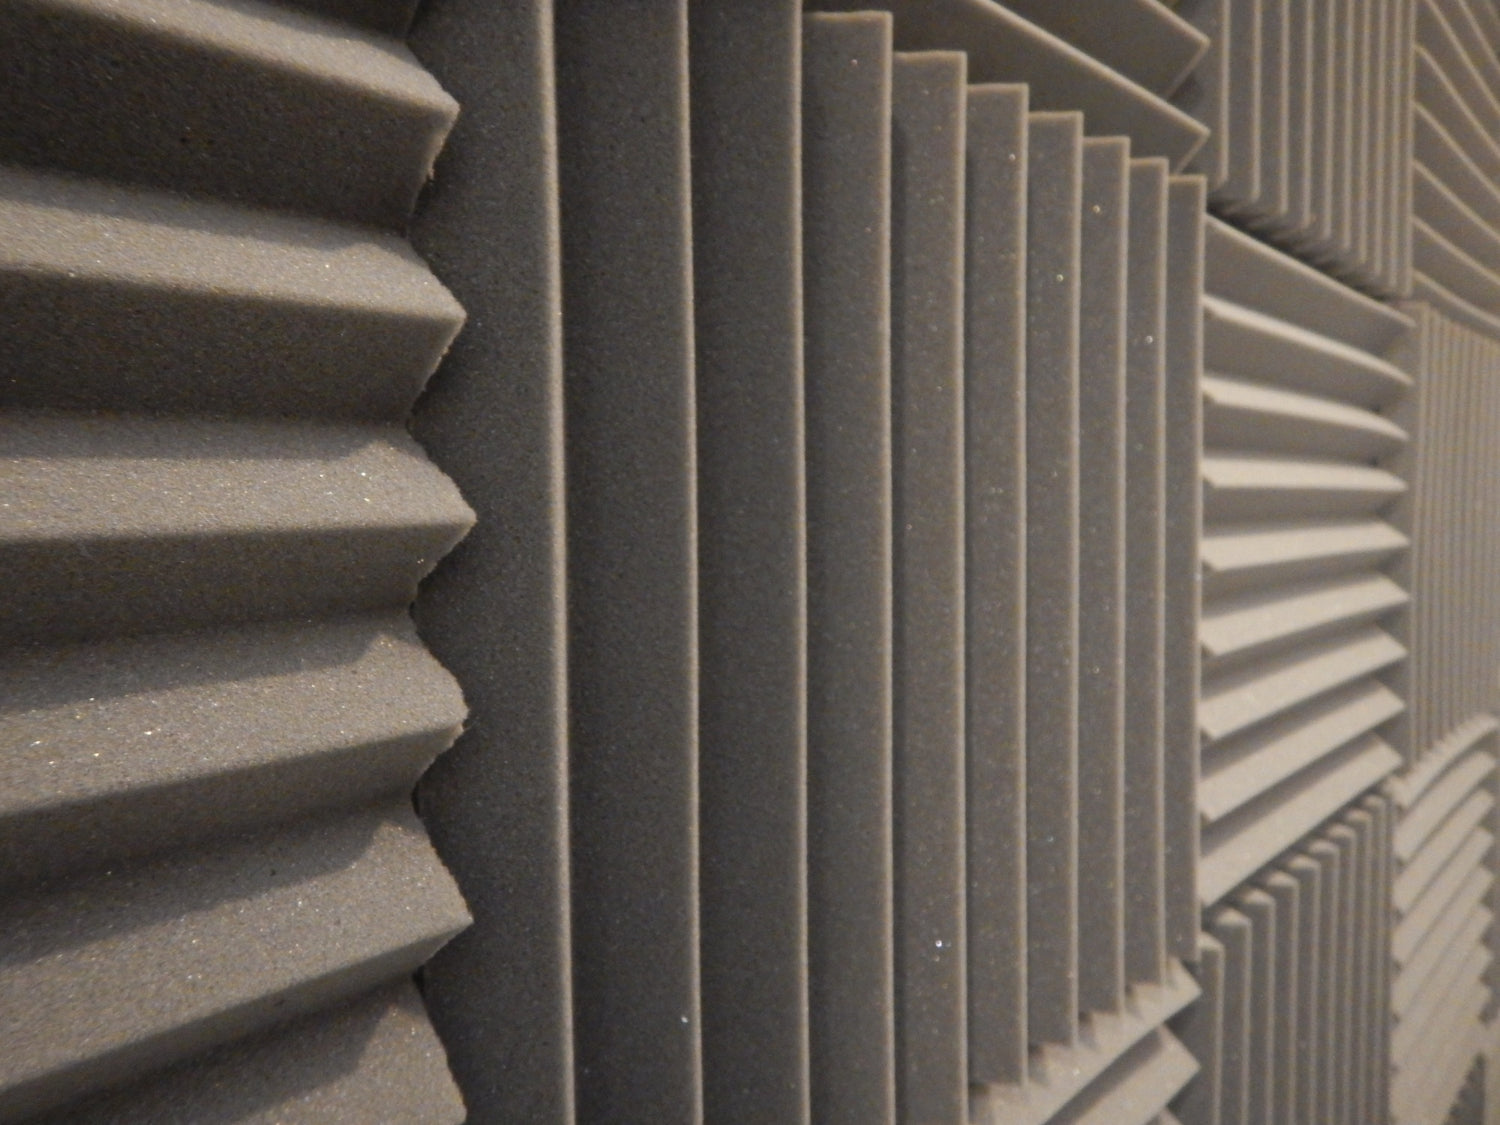
Acoustic foam panels are an easy and successful way to reduce noise in a room. These panels absorb acoustic waves, reducing echoes and improving the overall sound quality. They come in various shapes and sizes, including wedges and pyramids, and can be arranged for both function and aesthetic appeal.
To install acoustic foam panels:
Clean the Wall: Ensure the wall is clean and dry before application.
Measure and Cut: Cut the foam panels to fit the desired area if necessary.
Apply Adhesive: Use a spray adhesive on the back of the foam panels.
Position and Press: Press the panels firmly onto the wall, ensuring they are evenly spaced.
Acoustic foam panels are ideal for reducing noise in home theatres, studio recording spaces, and gaming rooms.
Applying Mass Loaded Vinyl
Mass Loaded Vinyl (MLV) is another powerful material for deadening sound on walls. Its high density blocks acoustic waves, making it successful for reducing noise transmission between rooms. MLV can be applied to walls, floors, and ceilings.
To apply MLV:
Measure and Cut: Measure the area and cut the MLV to size.
Preparation: Clear the installation area and ensure it is clean.
Apply MLV: Attach the MLV to the wall using nails, screws, or an adhesive.
Seal Joints: Use acoustic sealant to cover edges and seams for better performance.
MLV is versatile and can be used in many settings, offering excellent reducing noise. By using both sound-absorbing foam panels and MLV, you can achieve a high level of sound deadening and enjoy a quieter, more more pleasant setting.
DIY Sound Deadening Projects
Tools and Materials Needed
To start your DIY sound deadening project, gather the following tools and materials:
Measuring Tape: For accurate measurements.
Utility Knife: To cut materials like MLV and foam panels.
Adhesive: Spray adhesive or strong bonding glue.
Screws and Nails: For securing materials to the wall.
Acoustic Foam Panels: For taking in sound energy waves.
Mass Loaded Vinyl (MLV): For blocking sound transmission.
Acoustic Sealant: To seal gaps and seams.
Protective Gear: Gloves and safety glasses.
Step-by-Step Guide
Measure the Area: Use a measuring tape to measure the wall or area you want to soundproof.
Prepare the Surface: Clean the surface to ensure proper adhesion of materials.
Cut the Materials: Use a utility knife to cut the acoustic foam panels and MLV to the desired size.
Apply Acoustic Foam: Spray adhesive on the back of the foam panels and press them firmly onto the wall. Make sure the panels are evenly spaced.
Attach MLV: Secure the MLV to the wall using screws or nails. Start from the bottom and work your way up, ensuring full coverage.
Seal Edges and Seams: Use acoustic sealant to cover any gaps or joints between the foam panels and MLV.
Final Check: Inspect the installation to ensure all materials are firmly in place and sealed properly.
By following these steps, you can successfully reduce noise in your chosen area. DIY sound deadening projects are achievable and can greatly enhance the comfort of your home.
Common Mistakes and How to Avoid Them
Incorrect Material Choices
One common mistake is selecting the wrong materials for sound deadening projects. Not all materials are suitable for blocking or absorbing sound. For example, using regular foam instead of sound-absorbing foam will not yield the same results. Choose materials specifically designed for sound deadening, including sound-absorbing foam panels, MLV, and acoustic sealant. Investing in the right materials from the start will save time and effort.
Poor Installation Practices
Another mistake is poor installation. Incorrectly installing materials can reduce their effectiveness. Make sure to follow manufacturer guidelines for each material. Avoid leaving gaps or spaces where sound can pass through. Ensure that all materials are securely attached and properly sealed. For instance, if MLV is not tightly fastened, it may sag as time passes, reducing its ability to block sound. Regularly check and maintain your installations to ensure they remain effective.
By avoiding these common mistakes, you can achieve better sound deadening results and enjoy a quieter space.
Conclusion
Sound deadening techniques can considerably enhance the comfort and tranquillity of your living or workplace setting. Understanding the basics of sound transmission and choosing the right materials are crucial for effective reducing noise. Techniques like using sound-absorbing foam panels and applying MLV can dramatically reduce unwanted sounds, making your room more peaceful.
Taking on DIY sound deadening projects can be both rewarding and effective. With the right tools and a step-by-step approach, you can achieve professional-level results. Avoiding common mistakes ensures that your efforts are worthwhile and long-lasting.
Ready to revolutionise your walls with expert sound deadening techniques? Visit Advanced Acoustics to explore our range of high-quality acoustic foam options and soundproofing products. Make your home quieter today!
Previous: Identifying and Fixing Acoustic Panel Installation Mistakes
Visit the Advanced Acoustics Ltd website for more information on Revolutionize Your Walls with Expert Sound Deadening Techniques
ENQUIRY FORM