Best Practices for Installing Acoustic Foam in High-Echo Areas
17/06/2025
Understanding High-Echo Areas
To effectively install sound-absorbing foam, it's useful to first understand what makes an area prone to echoes.

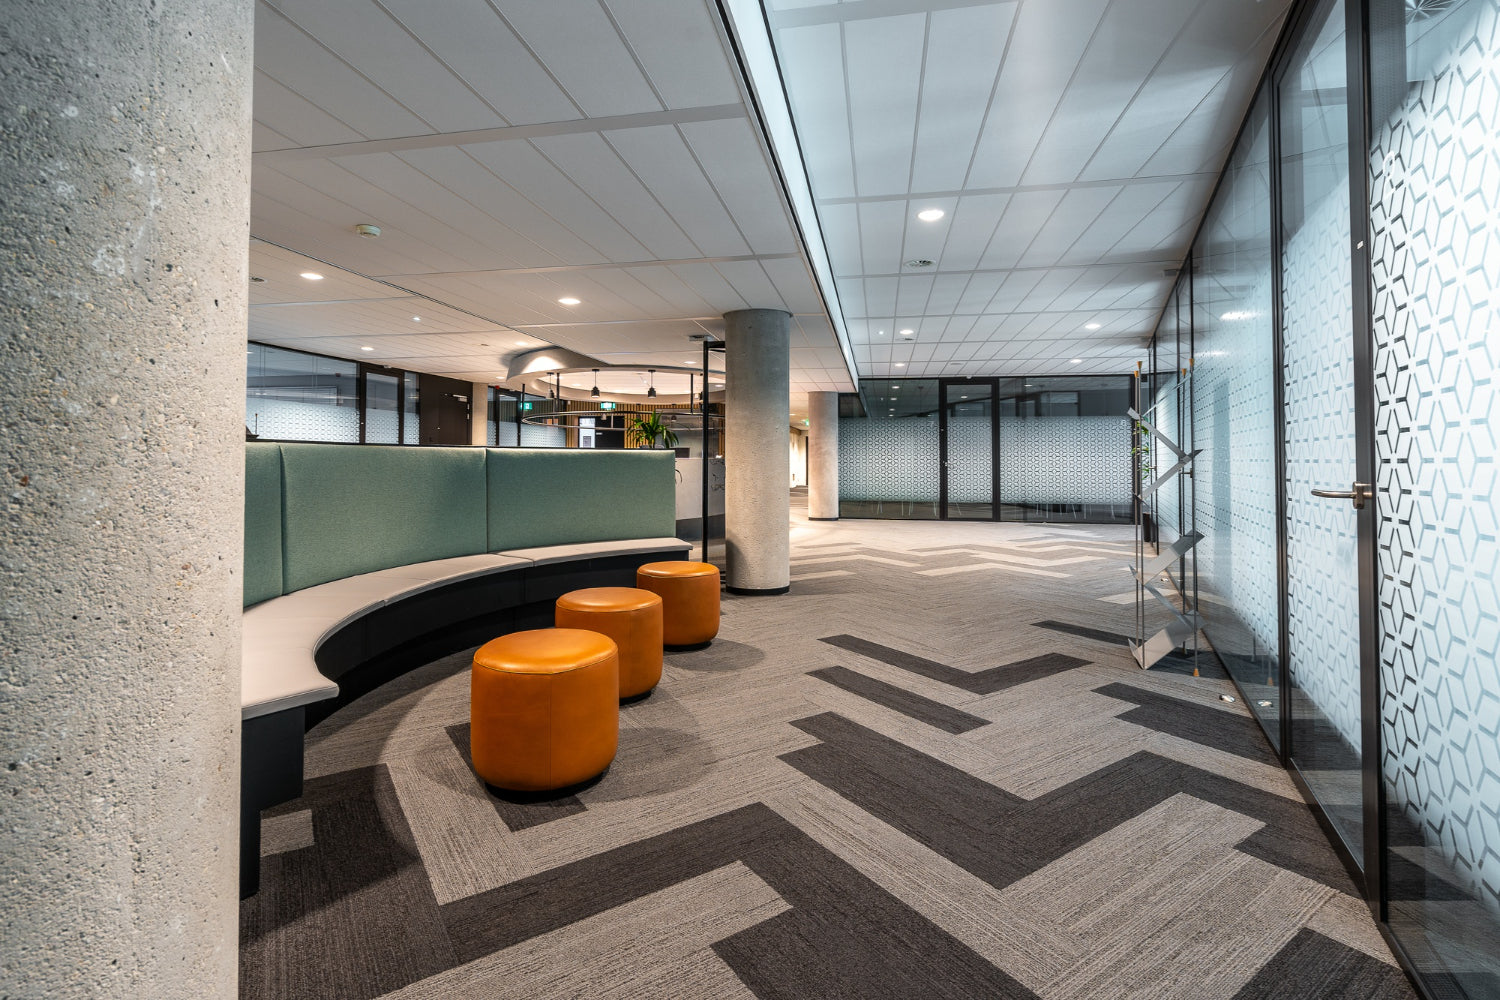
High-echo areas are generally large spaces with hard surfaces where acoustic waves can easily bounce around. Imagine a busy city hall or a big open office with plenty of glass and concrete; sound tends to reflect rather than dissipate. This can lead to a distracting or even overwhelming sound environment. Common places where echoes are frequently a problem include:
1. Large offices with open layouts
2. Community centers and halls used for meetings and events
3. Music studios where sound clarity is crucial
These areas suffer because the sound waves have ample surface to travel across uninterrupted. The hard surfaces contribute to sound bouncing back and forth rather than being absorbed or muted. The constant noise can interfere with productivity in work environments or disrupt the sound quality expected in a recording studio setting. The impact of excessive echoes goes beyond just noise; it can hinder communication, lower the quality of performances or broadcasts, and ultimately affect how people interact with each space. Successfully addressing these issues through the use of acoustic foam can drastically improve the auditory experience for everyone involved.
Preparation for Installation
Before getting hands-on with acoustic foam, it's important to have the right tools and materials. This normally includes foam panels, adhesive or mounting strips, a measuring tape, a level, and cleaning supplies. Having these on hand ensures a smooth installation process. Here's a straightforward approach to getting started:
1. Measure the Area: Begin by measuring the walls and ceilings where the foam will be installed. This helps determine how many panels you'll need, avoiding scenarios where you buy too little or too much.
2. Clean Surfaces: Dust and dirt can affect how well the foam adheres to surfaces. Wipe down walls and ceilings thoroughly to ensure they are ready for installation. A simple option of soap and water should do the trick.
3. Mark with a Level: Use a level to mark where each panel will go. This step is vital for ensuring that everything aligns neatly.
By following these steps, you'll be well-prepared, with surfaces that are primed for acoustic panel placement.
Installation Best Practices
Now that you're ready, let's dive into the installation. Proper placement of foam panels makes a world of difference in sound quality. Follow these easy steps to secure your panels:
1. Start from the Middle: Begin by placing panels in the middle of your wall or ceiling area and work your way outward. This helps spread the absorption more evenly.
2. Use the Correct Adhesive: Depending on the material of your wall, choose the right adhesive or mounting solution. Double-check that the adhesive is appropriate for both the foam and surface type.
3. Press Firmly: Once a panel is in place, press it firmly to ensure it sticks. Keep pressure applied for a few seconds to guarantee a proper bond.
Avoid rushing, as hasty work can lead to misaligned panels or poor adhesion. Steer clear of installing near heat sources like radiators since these can affect foam durability.
Maintenance Tips
With your acoustic foam installed, keeping it in top condition ensures long-lasting performance. Follow these tips for maintenance:
- Regular Cleaning: Gently vacuum the foam surfaces to remove dust. Use a soft brush attachment to avoid damaging the texture.
- Inspection: Check the panels periodically for any signs of wear. Replace any that appear worn or damaged to maintain sound quality.
- Remove Stains Carefully: In the event of stains, use mild detergent and a cloth to gently clean the affected area.
By adhering to these maintenance tips, your acoustic foam will continue to deliver the sound quality and echo reduction you expect.
Creating a Quiet and Productive Space
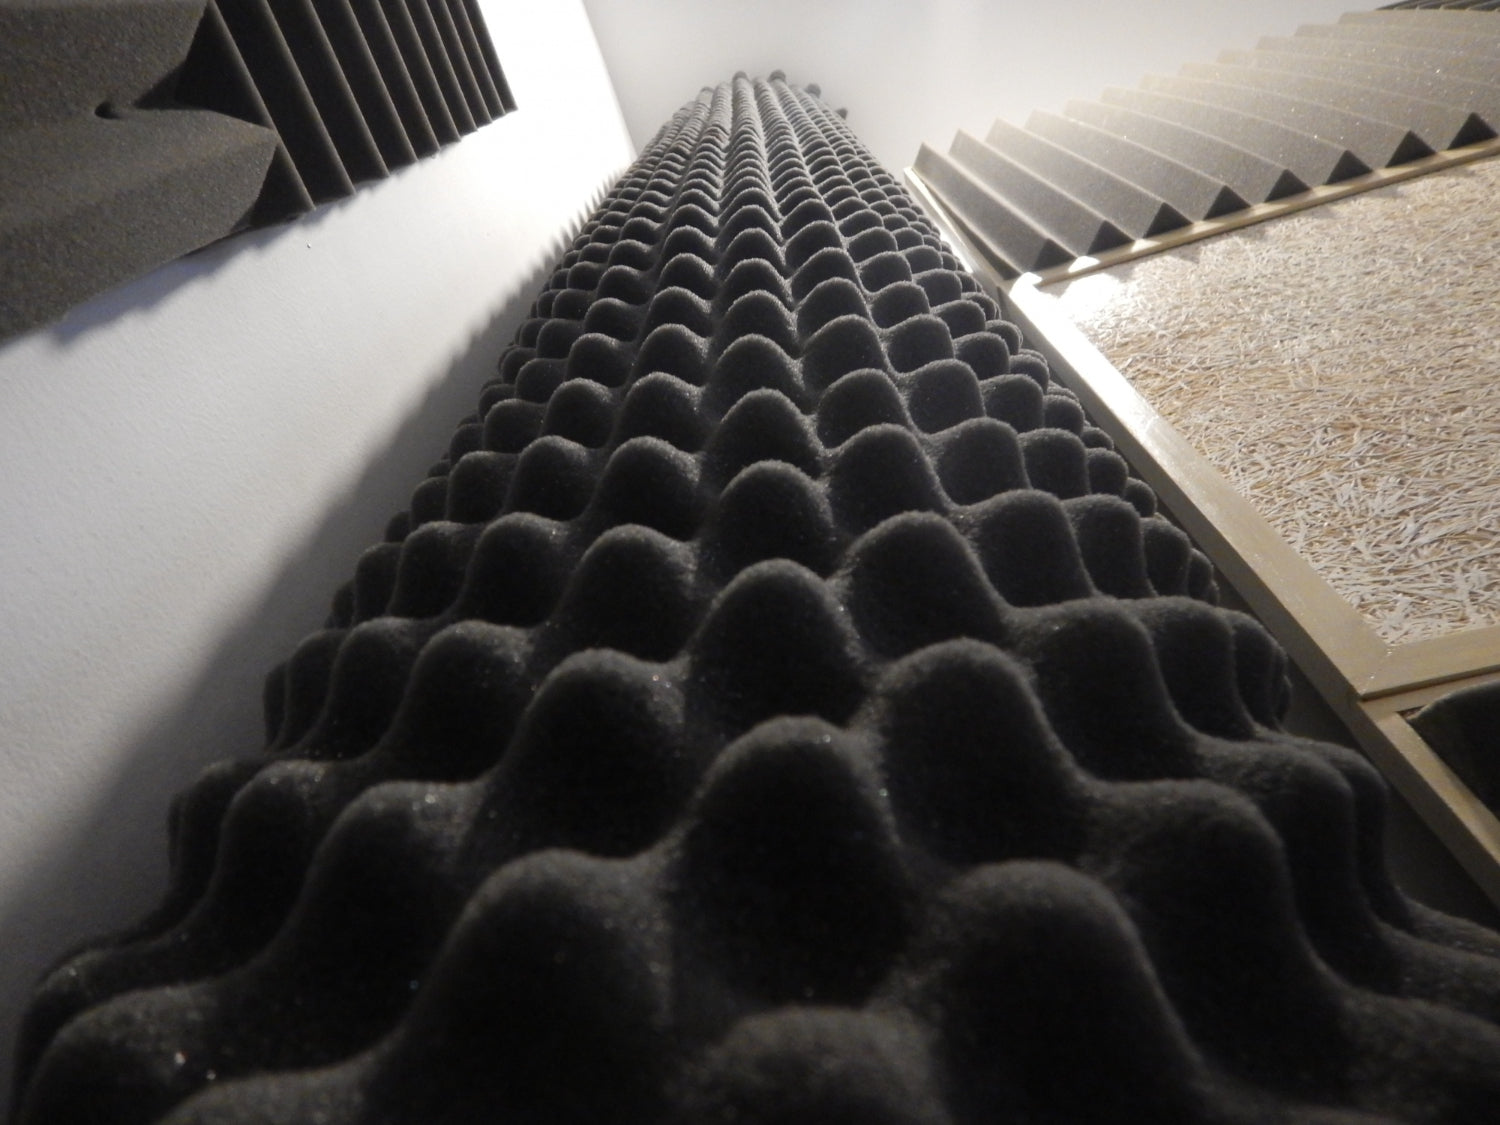
Embracing the advantages of sound-absorbing foam can lead to more peaceful and efficient environments. When correctly installed, these panels reduce echoes dramatically, making spaces calmer and boosting productivity. Whether it's a bustling office or a creative studio, successful sound management creates a more enjoyable atmosphere for everyone. Consider welcoming a professional touch for installation, especially if you have a large area or need an expert assessment. With their help, you can check that sound-absorbing foam is utilised to its fullest potential, providing lasting comfort and noise reduction in your room.
Enhancing your room with sound-absorbing foam is a step towards creating a more peaceful and productive environment. For those eager to optimise their acoustics, explore our range of sound-absorbing foam panels at Advanced Acoustics, where quality meets innovation to transform your high-echo spaces.
Previous: Identifying and Fixing Acoustic Panel Installation Mistakes
Visit the Advanced Acoustics Ltd website for more information on Best Practices for Installing Acoustic Foam in High-Echo Areas
ENQUIRY FORM